Improving Handling and Ride Quality with Coilovers
Improving Handling and Ride Quality with Coilovers
Blog Article
Installing Coilovers on your vehicle may considerably enhance the journey quality, managing, and overall performance of your vehicle. If you are seeking to boost your operating experience, that information may go you through the steps to put in coilovers properly while ensuring security and functionality.
What Are Coilovers?
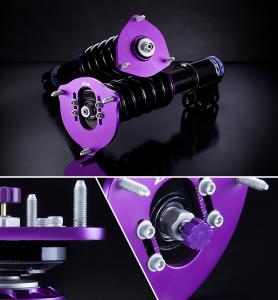
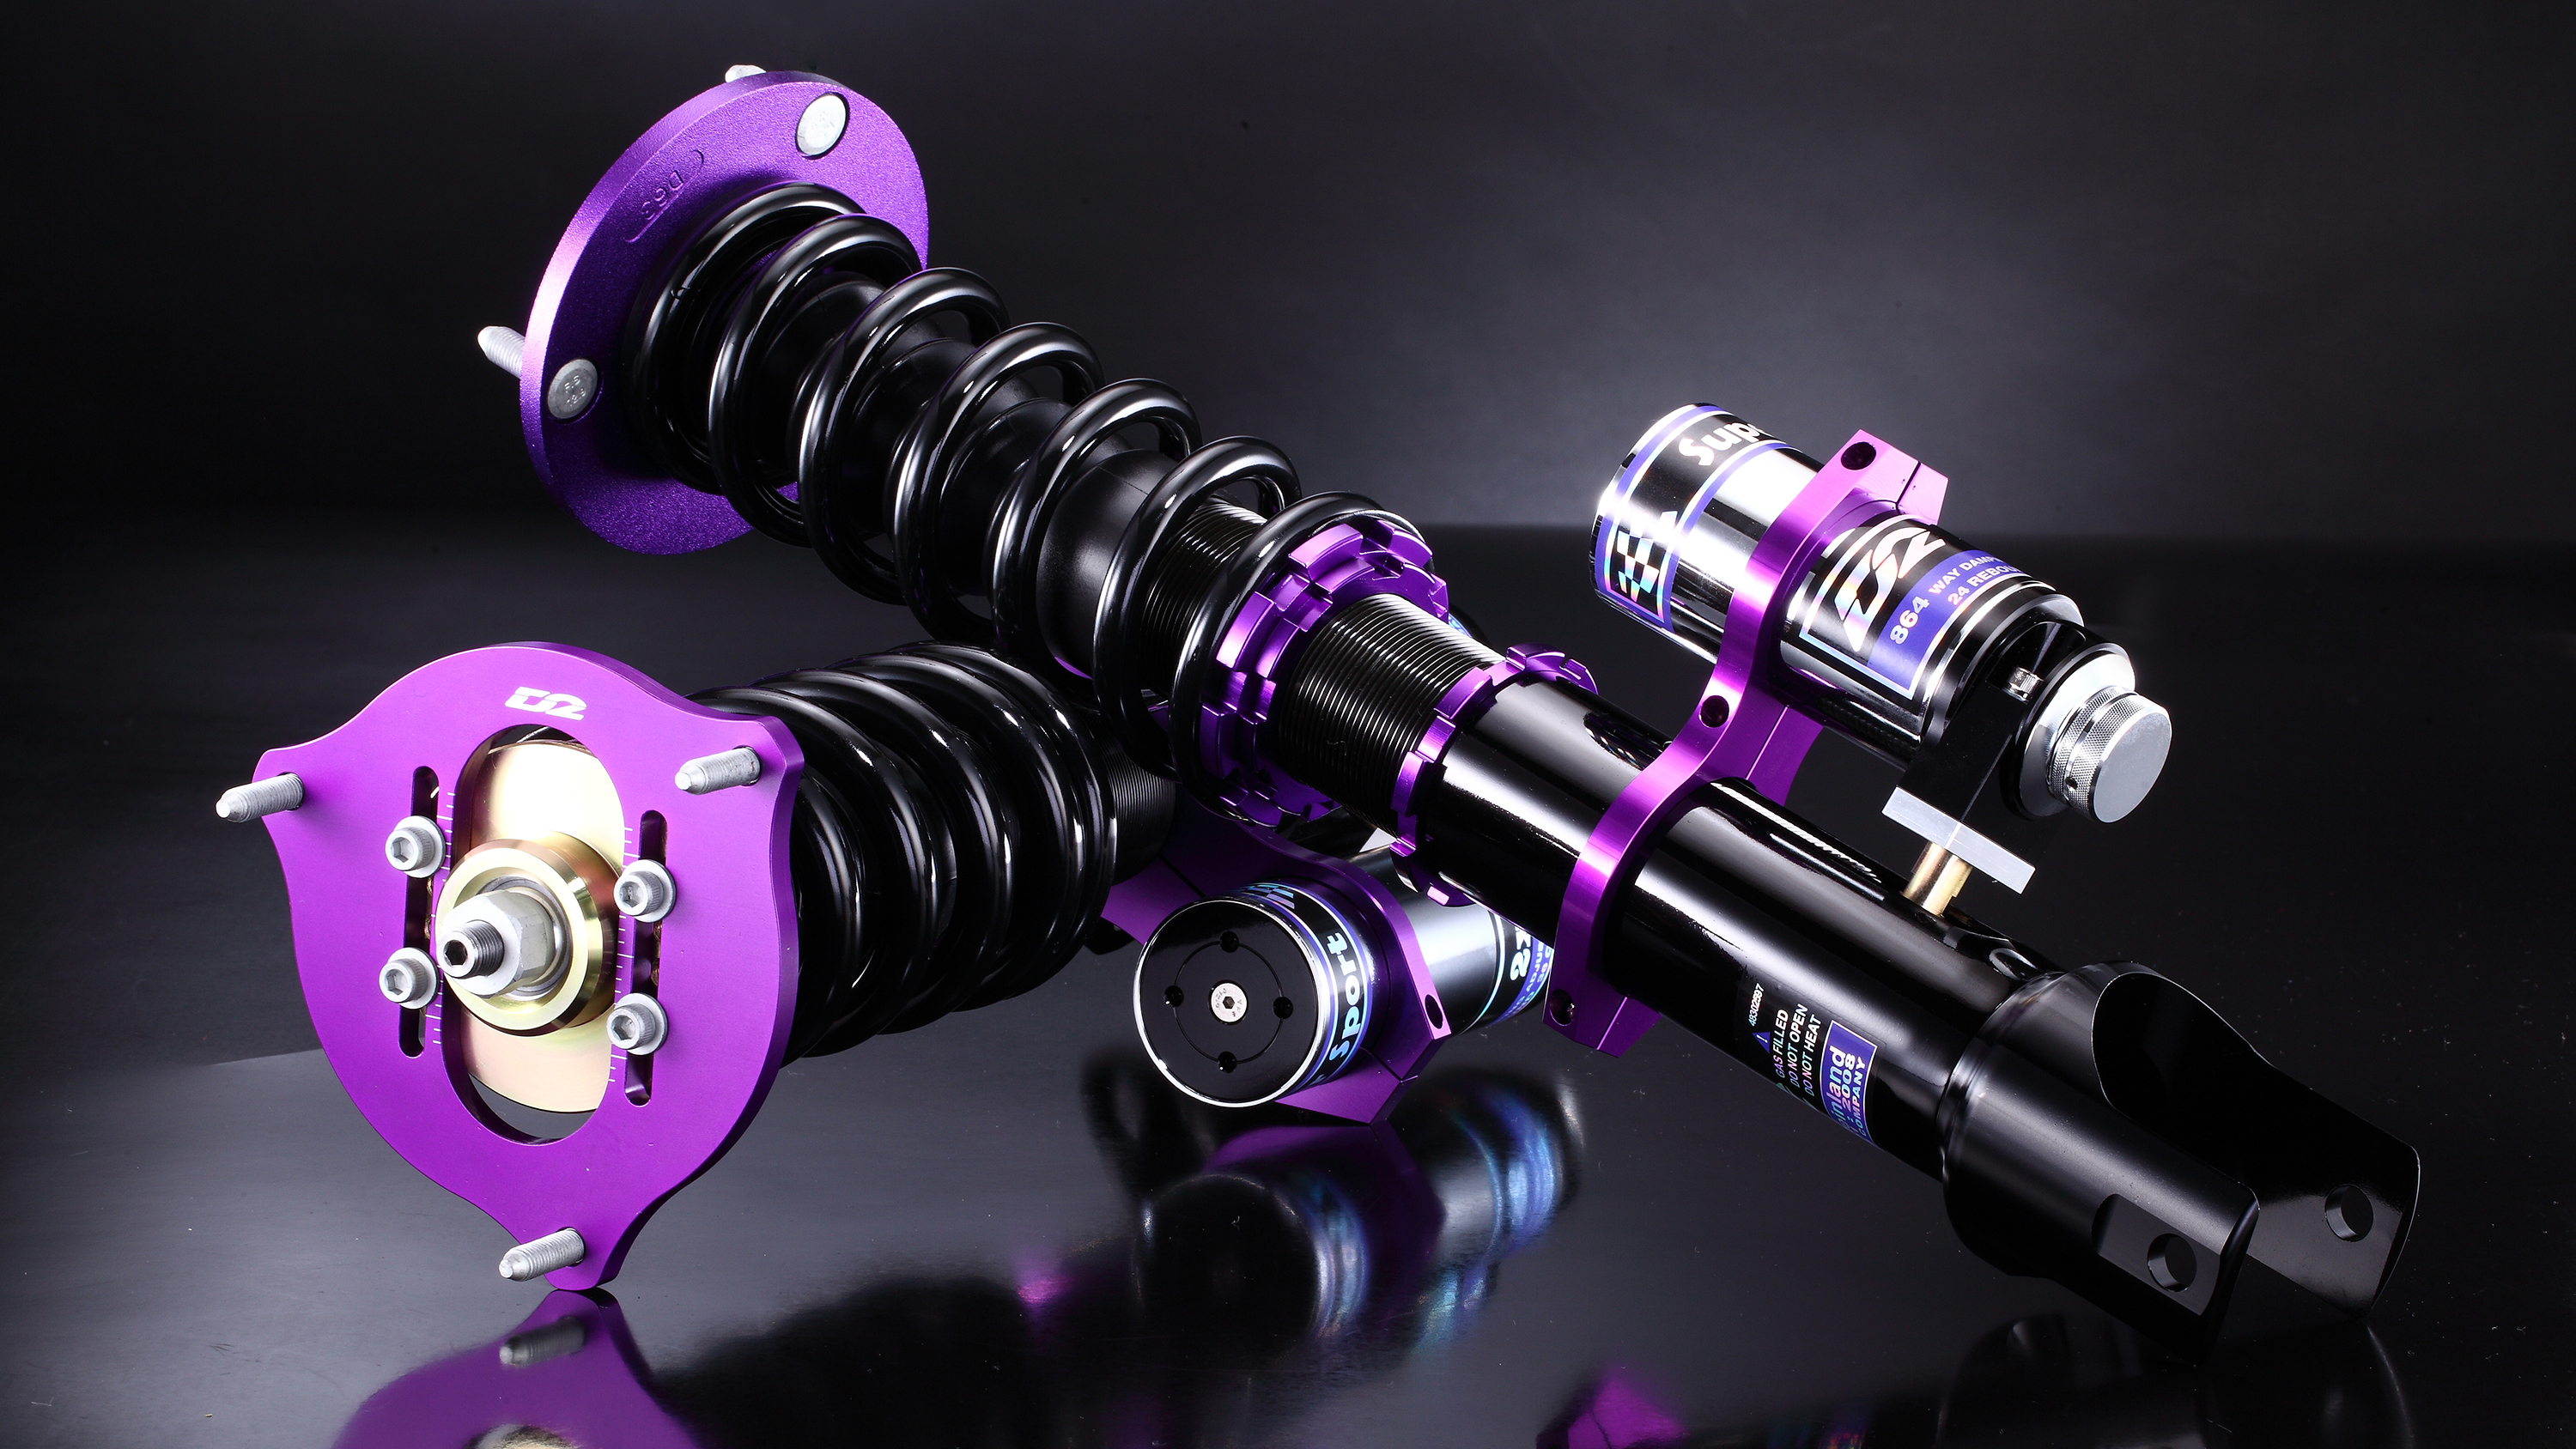
Coilovers are a combination of a coil spring and shock absorber, located together as one component. They allow vehicle lovers to modify the drive level, stiffness, and damping of these vehicle, making them a popular adjustment for equally road and track use. Before starting the installment, guarantee you've plumped for the proper coilovers tailored to your car or truck produce and model.
Methods You'll Need
Before you begin, gather the necessary resources to really make the method successful and safe:
Port and port stands
Torque wrench
Outlet set
Spring converters (if needed)
WD-40 or a decay penetrant
Rubber mallets and screwdrivers
Double-check your vehicle's requirements and make sure you have every thing required to complete the job.
Step-by-Step Guide to Adding Coilovers
1. Prepare Your Car
Start with parking your car on a flat, stable surface. Engage the parking brake and assure the jack stands are solidly in position to prevent accidents during installation. Raise the vehicle using a hydraulic port and eliminate the wheels at all four corners.
2. Take away the Previous Suspension
Making use of your socket collection, locate the products keeping your overall shocks, struts, and springs in place. Apply rust penetrant if screws appear hard to loosen. When the products are removed, you need to be able to remove the suspension parts carefully. Hold parts prepared just in case you need to check straight back for reference.
3. Deploy the Coilovers
Arrange the mounting items of the coilovers with the brackets in your car. Protected them in place using the products provided by the manufacturer. Be sure to follow the torque requirements that are included with the directions; over-tightening or leaving bolts loose could compromise safety.
4. Change Level and Preload
Most coilovers provide change rings setting journey level and preload. Using the provided instruments, configure the adjustments to your preferred measurement, ensuring enough approval for driveability without sacrificing performance.
5. Check always All Products and Contacts
Before concluding up, review every secure and connection to ensure they're secure. A free secure all through function can cause significant issues on the road.
6. Reinstall Wheels and Check Get
Once the coilovers are installed, position the wheels straight back on and lower the car. Take the automobile for a brief check drive to familiarize your self with the newest setup. Listen for just about any uncommon noises and recheck products following the drive.
Fine-Tuning for Optimum Performance
The beauty of coilovers is their adjustability. Following installment, spend some time fine-tuning the stiffness, damping, and ride level to suit your requirements, whether you prioritize track-level efficiency or even a relaxed daily drive.
Installing coilovers on your car or truck is just a satisfying project that elevates equally appearance and performance. With this manual, you are able to confidently tackle the process and enjoy remarkable managing on every drive. Remember, protection generally comes first, so invest some time, double-check every step, and do not wait to consult a specialist if needed. Happy driving!
Report this page